Transcript
Making Barcodes with LabelSuite
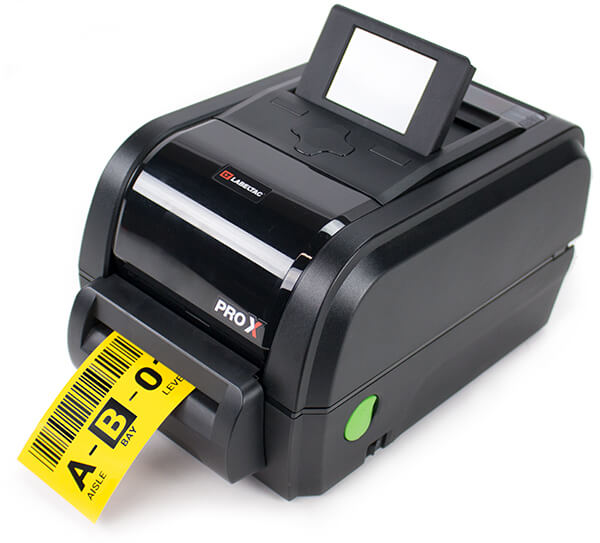
Creating barcoding systems for your inventory has never been simpler, thanks to the intuitive, easy-to-use LabelSuite™ software that comes free with all LabelTac® industrial printers. Follow the steps below to create the barcodes you need.
Making 1D Barcodes
Within the Barcodes tab of LabelSuite™ is the Barcode Generator. From here, you can add various barcode formats to your label template. Supported barcode formats include Code 128, Code 39, EAN-13, EAN-8, and UPC-A. Once a barcode has been inserted into your label canvas, you can edit its advanced options by highlighting the barcode, then selecting the Barcode tab from the LabelSuite™ Toolbar.
Adding a Barcode
-
Starting from a blank label template, navigate to the INSERT tab and select the Generator dropdown.

-
In the dropdown menu, click the Code 128 option from the 1-D Barcode formats.

-
Resize and change the location of the barcode on your label by left clicking and dragging on the dotted outline of the selected barcode.

Formatting and Editing a Barcode
- With the barcode selected, click FORMAT on the menu bar.
- Click on the blue Barcode Data button to edit the content of the barcode.
- Use the additional controls on the menu bar to further edit the barcode text to your needs. Make adjustments to the font, font-size, and font style.

-
You can also change the location of the human readable data so it appears above or below the barcode, as well as the spacing between the two elements.

Making QR Codes
QR Codes (2D barcodes) can include more data than 1D barcodes. They can also be scanned by smartphones to open a URL. Making and editing QR codes using LabelSuite™ is the same as with 1D barcodes.
Adding a QR Code
-
Starting from a blank label template, navigate to the INSERT tab and select the Generator dropdown.
-
In the dropdown menu, click the QR Code option from the 2-D Barcode formats.

-
Resize and position of the QR Code on your label by clicking and dragging on the dotted outline of the selected barcode.

Linking to a Database
For this tutorial we'll be using this sample CSV file.
-
To grasp a better understanding of the software open up the sample CSV file using your data program (MS Excel, for example). Notice the two header names, Part Code and Description. The header names will be used to help set up the template in LabelSuite™.
- Save and close the CSV file.

- Open LabelSuite™, create a new label with two fields. Insert a text box for the Description field and then create a barcode using the Barcode Generator.
- Click on a text box to select it. Using the formatting options style the label and barcode.

-
With the text box selected, Click FORMAT on the menu bar. Click on the Data Source and then the Import new data file. LabelSuite™ will help search and import the spreadsheet you want to use.


-
In the DATA SOURCE OPTIONS window, choose “Preserve external file linking” in the Embed options dropdown. Make sure the Data source columns have header option is checked. Click Done to close this window.

-
We are taken back to the GENERATE A SCALABLE TEXT FROM A DATA FILE window. This is where we will be linking to our database. Select your data sheet from the Available data files. Because we selected the text box in Step 5, choose “Description” in the Data column dropdown. Click Done to close the window.

-
We repeat the same process for the “Part Code” except this time click on the barcode field on your label to select it. In the FORMAT tab, select Barcode Data and select
 Data file, then click Generate from data file.
-
In the window that opens, select your spreadsheet from the Available data files. Select “Part Code” from the Data column dropdown and then click Done to close the window.

-
Your data-filled labels have now been created. Double check the database is linked by selecting the PRINT tab then click on Print Preview. Click on the left and right arrows below the label preview. The label preview should correspond with the data from your database

